Apache ActiveMQ is my first choice every time a Message Queue is needed to solve my integration problems.
Unfortunately the ActiveMQ Web Console is not that comfortable, so I decided to add the Red Hat JBoss project hawtio to my standalone ActiveMQ environment.
Hawtio is a modular web console for managing Java stuff.
It has nice dashboards, wiki and lots of plugins for logs,health, JMX, OSGi, Apache ActiveMQ, Apache
Camel, Apache OpenEJB, Apache Tomcat, Jetty,
JBoss and Fuse
Fabric.
Currently there are just a few tutorials out there which explain how to add hawtio to a standalone ActiveMQ
installation.
Unfortunately these tutorials are outdated and misleading.
Therefore I am writing this tutorial.
You can see it as an update of existing tutorials.
There are two ways to get your standalone ActiveMQ up and running with hawtio.
You can either follow the following steps or take a look at my GitHub repository which contains a running version of
ActiveMQ and hawtio.
You can find it here.
Getting Started
- Download the latest version of ActiveMQ (download)
- Download hawtio offline .war file (download)
- Unzip the formerly downloaded activemq folder
- Unzip the .war file
- Rename the folder to just "hawtio"
- Copy it in the unzipped activemq/webapps folder
- To override the hawtio auth defaults, open the env script which is located in the bin folder in your activemq folder.
- Search for "ACTIVEMQ_OPTS" and add these three properties: -Dhawtio.realm=activemq -Dhawtio.role=admins -Dhawtio.rolePrincipalClasses=org.apache.activemq.jaas.GroupPrincipal
After these steps, you can access the hawtio web console via http://localhost:8161/hawtio
and login with admin/admin.
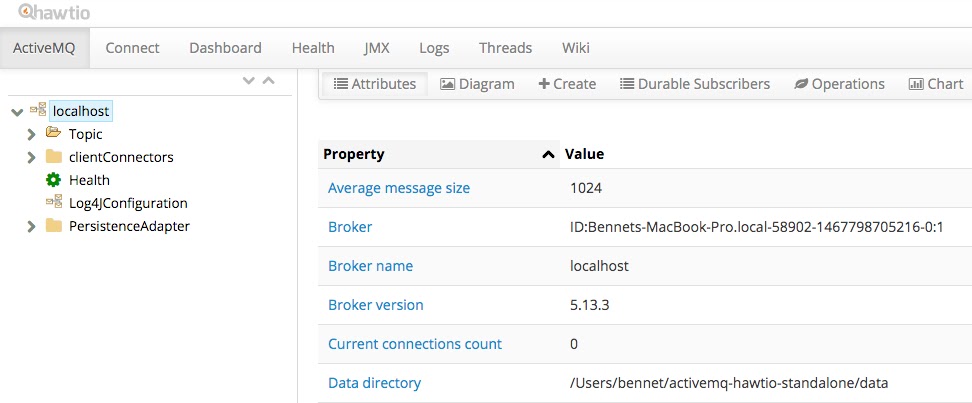
The hawtio web console looks like:

As you can see, the hawtio is a really nice addon and much more comfortable than the standard ActiveMQ console.
Give it a try! Have fun with ActiveMQ and hawtio!
Bye,
Bennet
Be Social, Share!

